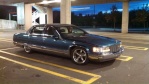
Well after 2 years of hunting for the right motors, I broke down and did an internet search and found a salvage yard in Oklahoma that had the motors I needed for the rear quarter windows mod (making them power) and I went ahead and bought them. $150 a side complete. Very expensive but these puppies are rare now as they apparently were only used for 3 model years (78-80) on very select models. If you use your rear quarter windows for ventilation often, then this mod may be worth it.
The driver’s side motor/shaft/regulator is over 2 feet long; passenger side only about 18”. If you do this mod, try and get 2 drivers side for the longer cables. Longer cables give you some flexibility for mounting in the quarter wells below the windows.
Here are the uneventful looking things~

Due to age, I had to do some prep work on them to get them all lubed up. I also made sure that they both opened the exact same distance so I had to open one of the swag crimps to adjust it out a bit. I have both shafts set to travel about 1 ¾” which is the maximum these regulators were designed to open. Factory quarter window opening for our Roadys is 3 ¼” which is massive when you think about it and really not necessary to be open that wide. I think that large opening is some of the stress on the hinges and causes problems.
I was going to only put vent switches in the drivers door, but decided to go ahead and put in switches in the rear too as I may want to open/close them while at the back gate or if someone is riding in the gunner seat, they will be able to control them.
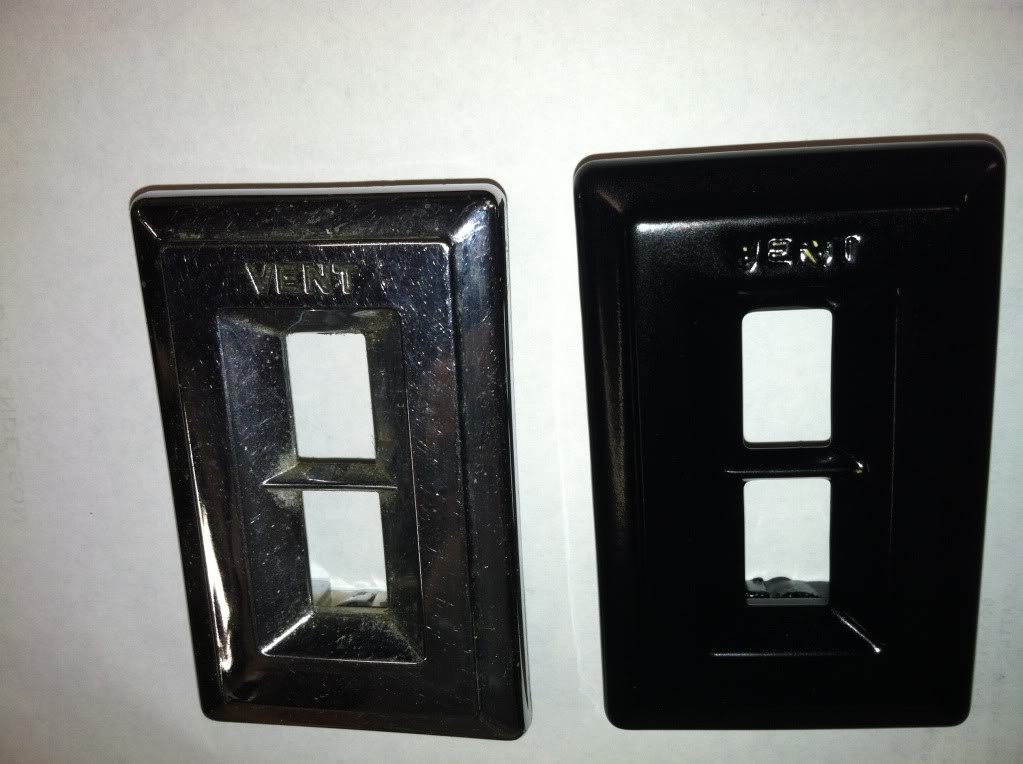
When it comes to switches, there are a plethora of options. I really wanted to add the driver’s switches to the armrest black door control panel, but found no way to perfectly replicate the openings. I could square punch the two openings, but the factory openings actually have a slight downward pitch that I know I wouldn’t be able to do, and then there is trying to label them with perfect white lettering like the rest of the switches. So, the next best option was to use the Vent switch plate from the donor car. Another option would be to just use a plain 2-swich faceplate but it wouldn’t have had the “VENT” wording stamped into it. By using a non-“Vent” one, the switch plate could actually have been mounted horizontal somewhere. The switches could be mounted anywhere but I choose to put it in the upper portion of the map pocket. It can be seen from the driver’s seat and it will not stick out like an add-on by being placed elsewhere.
For the rear cargo area switches, there were a myriad of options that I had gathered from donor GM vehicles in the past:
Brown bezel with Silver Switch
Black with Silver switch
Brown/Tan with Black switch
Silver with Silver switch
Silver with Black switch
Silver/Woodgrain with Black switch
Shiny black with a silver switch would match the armrest switches, but the only things shiny/chrome in the rear cargo area of the Roadmasters are the 2 locks (floor and side compartment) and the gate plunger knob so shiny chrome was out. I opted for what I feel the factory would have done. I SEM painted one to my interior color and went with a black switch. This keeps the switch blending in at the rear and not sticking out like an eyesore. I mounted them in the headliner fairly in-line with the grab handles over the rear doors. There are cut outs in the roofline that allow the switch to go into safely.
The work:
Here is the window with factory manual regulator~


I did passenger side first. Removed all necessary interior trim, old manual latch and the glass button retainer. With the glass closed snug and the motor cable fully retracted, Mount the new regulator where it will naturally lay. Then route the cable down and find a spot for the motor to be mounted. Mount it secure and use rubber spacer(s) to absorb vibration. As the motor operates, they will be some slight movement so the rubber spacers are important. Be aware that the spare tire has to rest in the well and cannot lean on the motor. There are only two wires from the motor. Those two go to the passenger side cargo switch I mounted in the headliner. The balance of the wires (3 of them; Power, Motor Up and Motor Down) go up and across the wagon and down to the drivers side rear quarter.
On to the Drivers side. Mounted it in the same fashion as the passenger side. There are 3 wires coming from the passenger side and there will be 3 more for the drivers side. Take the 2 hots (Pink) and splice them together here so you would only need to run one hot to the front. So the 5 wires that run to the front are hot (power), passenger up, passenger down, drivers up and drivers down. I ran all wires through curly cable retainers.
Now it was a matter of running the wires along drivers side cargo area, behind and down into the threshold channel and into the drivers foot well area. From here the wires are fed into the drivers door rubber boot for the electrical hook up to the new Master Vent switch.
Completed install in rear~


Installed rear cargo switch~

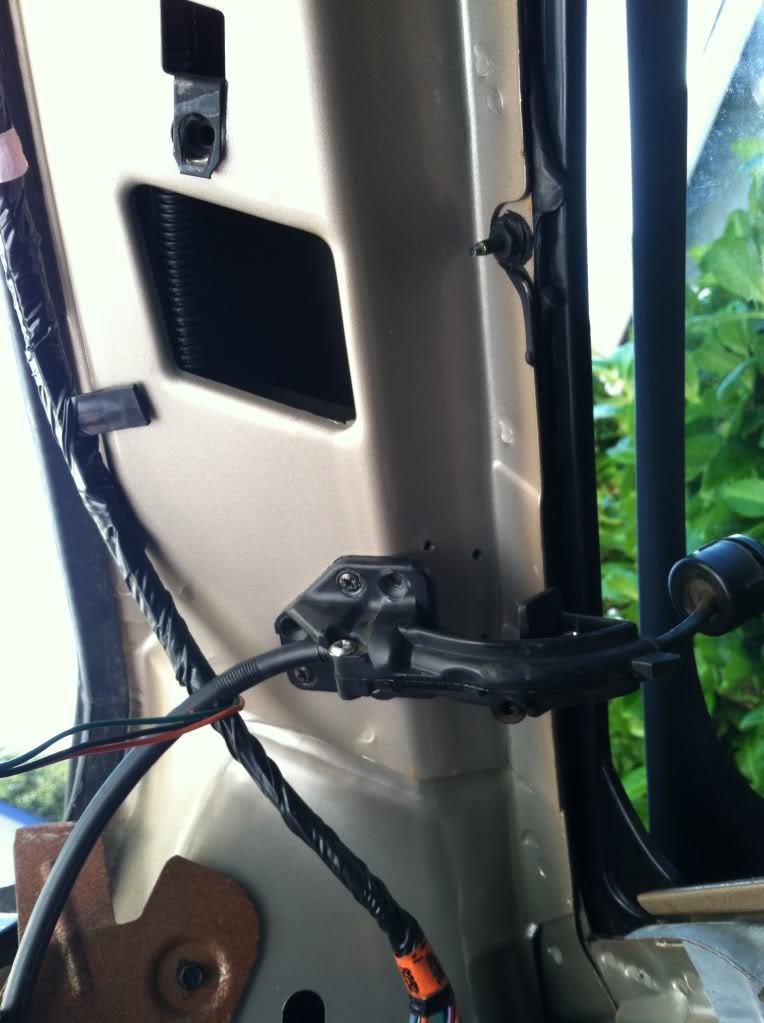
When reinstalling the D pillar trim, some additional cutting needed to be done. You will see from the picture that it is only about an additional inch or so that has to be notched out.

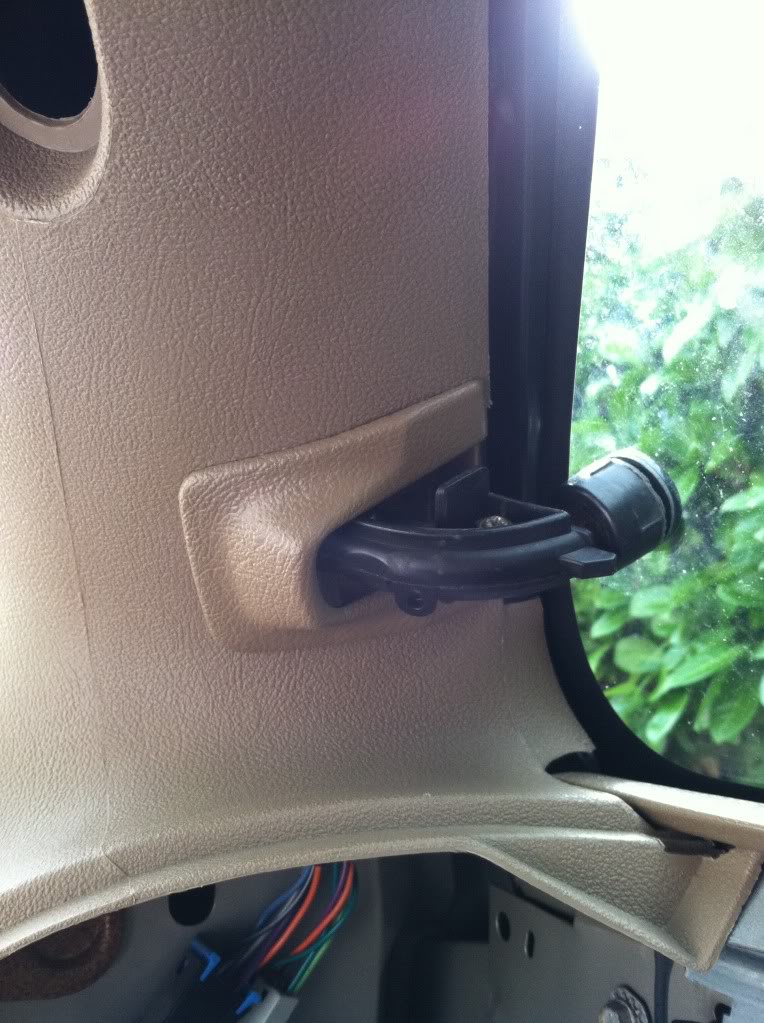
The drawback here is that the old cover that surrounded the manual latch will not cover the enlarged notching. One could get some donor material from another car and make another larger plate to cover this but I choose a different path. I used regulator covers from an old Dodge Caravan.

They match the contour fairly well and cover the cut out well. I SEM painted them to match my interior and mounted them. Some of the black regulator still shows, but it is actually less than the Manual one did so it looks great.
Here is the completed install~


On to the Drivers door master switch hookup. I am still working on the painting of the bezel so will post the final hook up soon.

I wired the door switch so the top is drivers and bottom is passenger side. I also reversed the direction of the passenger side motor so drivers side is open to the left and closed to the right, the passenger side is open to the right and closed to the left. So the switch movement follows the direction I want them to go (in/out).
Some things to ponder before tackling the job:
The motors are hard to come by. Due to being over 30 years old, the motors are old technology and are loud and noisy; even after a complete shaft lube and greasing up the regulator (at least mine are). One could take better donor motors from the rear doors of the G bodies and use them to attach to the cable/regulator mechanism as these motors tend to be in better shape.
This mod will only open the vents about 1 5/8”. If you want a larger opening, then keep your manual regulators or explore modifying the Dodge Caravan cable driven regulators (more on this later).
So there it is. I hope this helps anyone attempting this mod. If you do this mod and get stuck or have any questions, you can always PM me and I can walk you through it. It took me 3 days to complete this as I fixed and fiddled with other things along the journey while I had so much of the trim off.